> For the complete documentation index, see [llms.txt](https://docs.aporia.com/llms.txt). Markdown versions of documentation pages are available by appending `.md` to page URLs; this page is available as [Markdown](https://docs.aporia.com/v1/integrations/sso-saml-integration.md).
# Single Sign On (SAML)
You can easily give access to Aporia to your team using your favorite SAML Idp.
The integration can be found on the "Integrations" page, accessible through the sidebar:

### Setting up the SAML integration
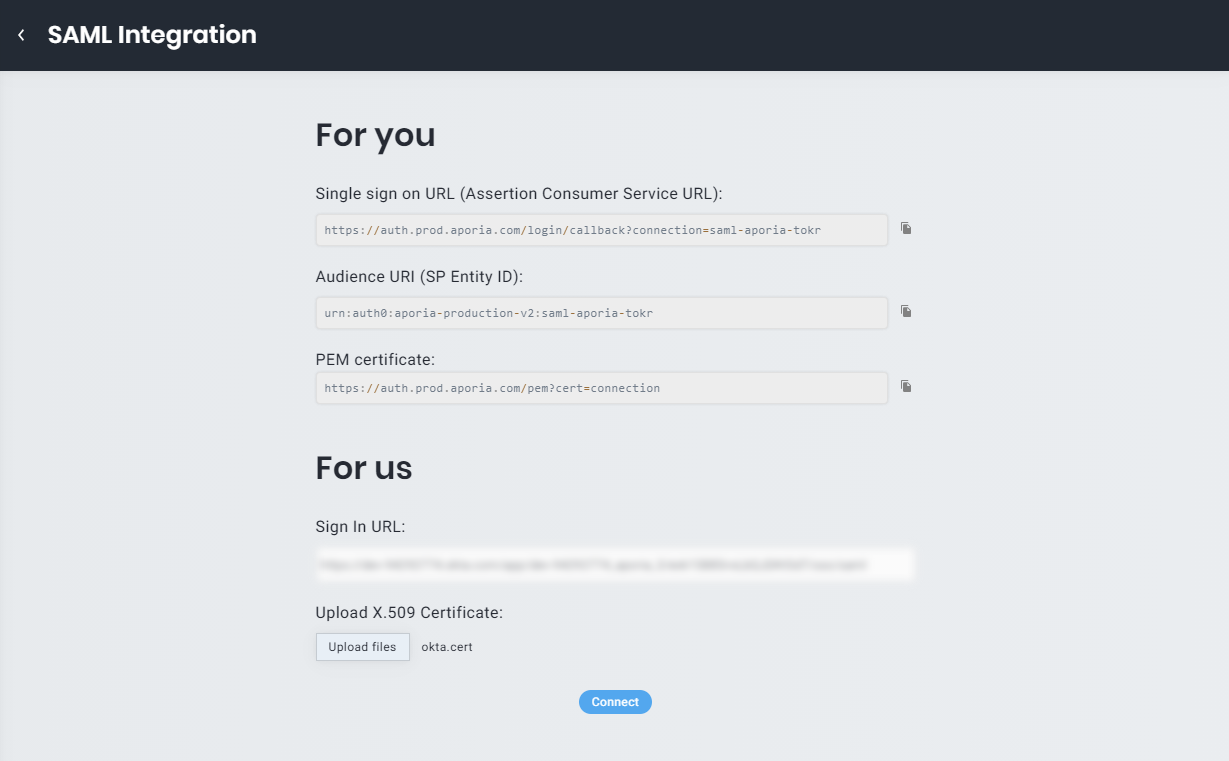
After clicking the **Connect** button inside the **SAML Single sign on** card (only available for *Professional* users), you will be redirected to the "Integrations" page.

### Integrate with your Idp
Create a new application in your favorite SAML Idp and fill in the relevant details under the **For you** title. Here's a demonstration of the process of integrating with OKTA below.
1. Sign in to your OKTA dev account.
2. In the sidebar, click on **Applications -> Applications**.
3. Click on the **Create App Integration** button.
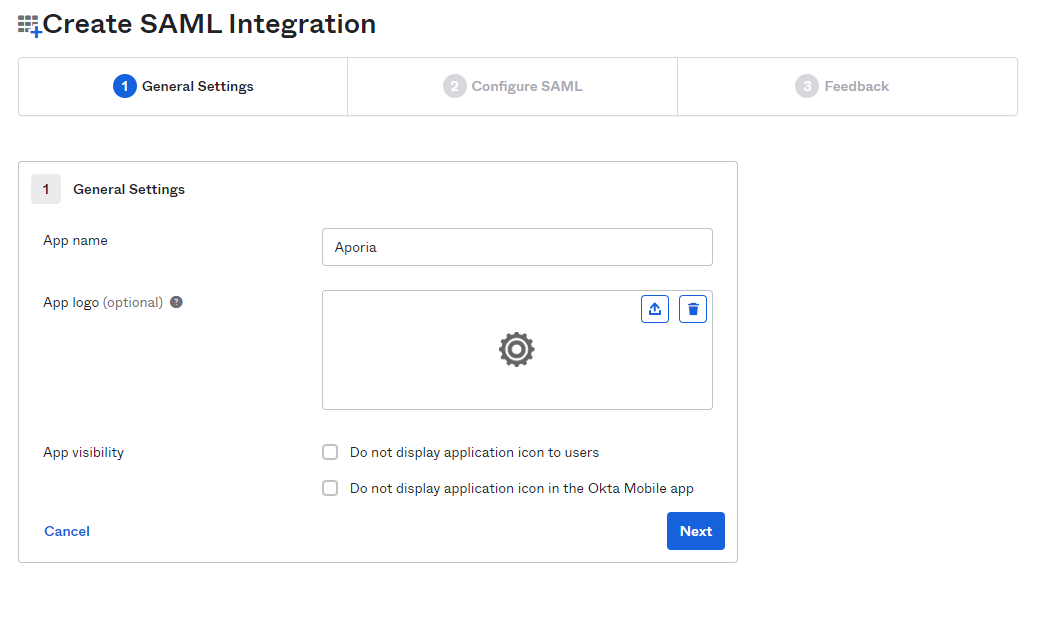
4. Choose **SAML 2.0** and click **Next**. You should now be in step 1 of the creation wizard named **General settings**.\
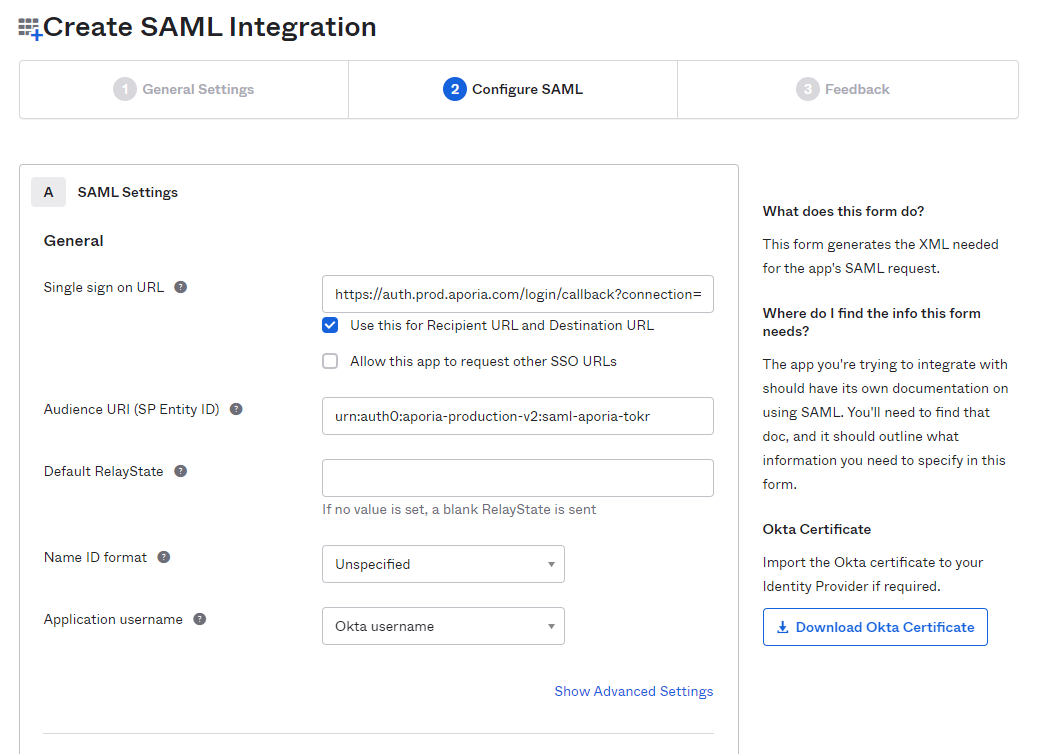
5. Fill in the **App name** as **Aporia** and click **Next**. Moving forward to step 2, **Configure SAML**.
6. Fill in the **Single sign on URL** and **Audience URI** according to the fields in the **SAML integration** page in Aporia.
7\. Scroll to the **Attribute Statements** section. Fill in the data as follows:
| Name | Name format | Value |
| -------------------------------------------------------------------- | ------------- | -------------- |
| | URI Reference | user.email |
| | URI Reference | user.firstName |
| | URI Reference | user.lastName |
Click on the **Add Another** button to add a new attribute.
1. Scroll down and click **Next**. In step 3, fill in the requested data however you think is right and click on **Finish**.
### Integrate with Aporia
1. Inside your OKTA application page, click on the **Sign On** tab.
2. Scroll down and click the **View Setup Instructions** button.
3. Copy the value under **Identity Provider Single Sign-On URL** step and download the **X.509 Certificate**.
4. In Aporia, under the **For us** title, fill in the data you gathered from step 3 and click on **Connect**.
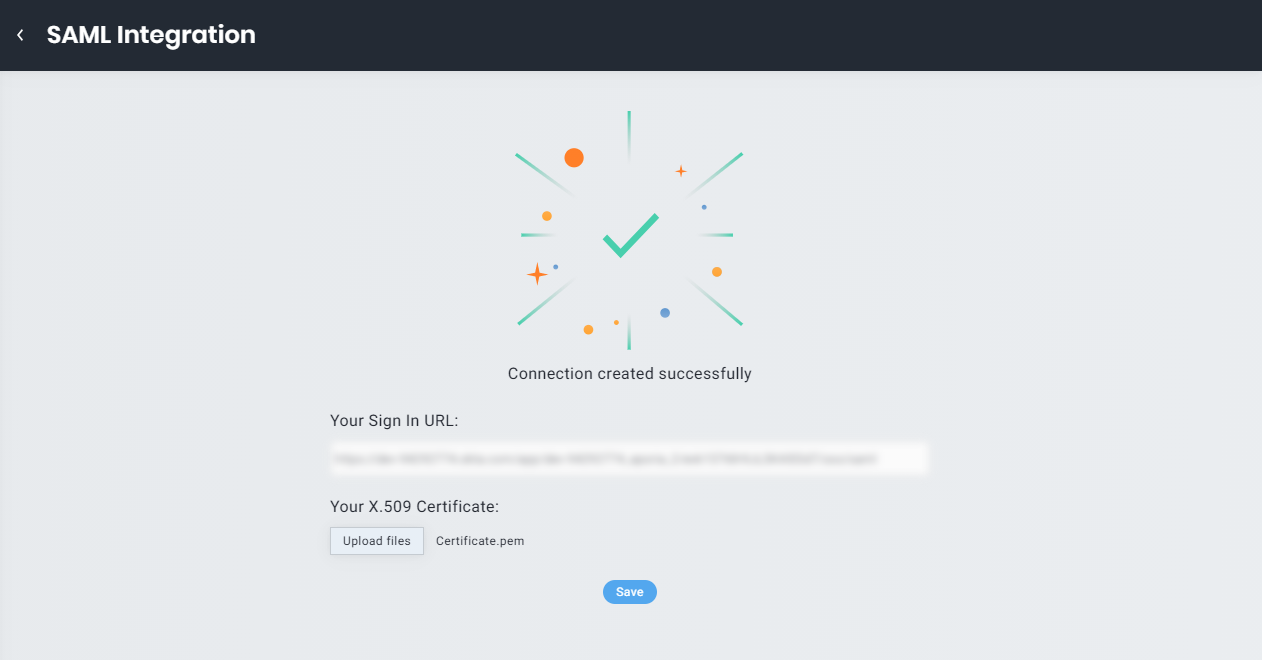
5. You'll be redirected to the **Integration success page** where you'll be able to see and edit your connection data.
You can now go and test your connection using the Idp-initiated login link.